First project
Here is how you can create your first project.
Step 1 - Create a Project
A project contains the assets and logic for your interactive story or application.
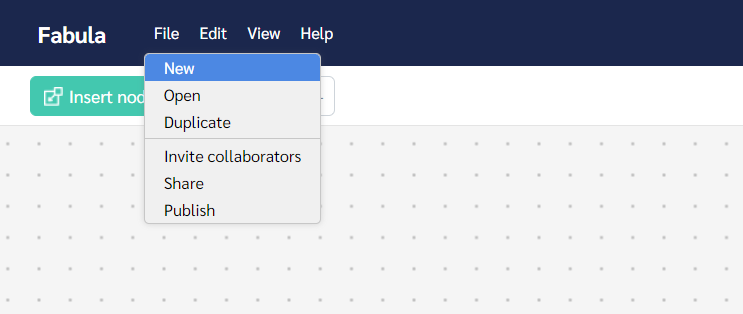
- Press File in the top left corner and then choose New in the dropdown menu.
- Name your project with 5 characters or more.
- Press the Create project button.
Editor Layout
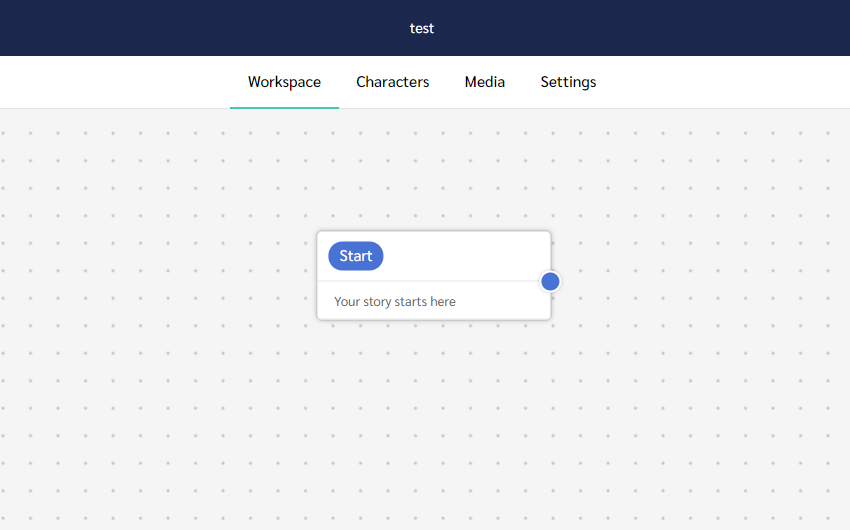
When you start up your project you will find that there are four main tabs.
- Workspace: This is your main overview of your project where you will be building your experience. Here you can add, move, edit and customize your nodes.
- Characters: This is a list of all your character voices. You can also add more characters and customize them by choosing between different providers and voices.
- Media: The media tab is for storing and managing your audio clips for your project.
- Settings: Here you can change various settings.
Step 2 - Create and Connect Nodes
The first node in every project is the start node. This is the beginning of your story. An end node is also required to have an ending point for the project. Let us start by creating another node and connecting it to the start node.
There are multiple ways to create nodes. If you for example want to create a say node, left-click and go under the insert node tab to either search for the node or browse the node list. The most commonly used nodes accept a single letter keyboard shortcut that creates the corresponding node. The keyboard shortcut for a say node is the S key.

To connect two separate nodes, left-click the blue dot (exit socket) on your start node and drag it to the left side dot (entry socket) on your say node. They are now connected! If you move any of the nodes, the line will follow. Nodes can be moved by left-clicking and dragging them.
Edit Nodes
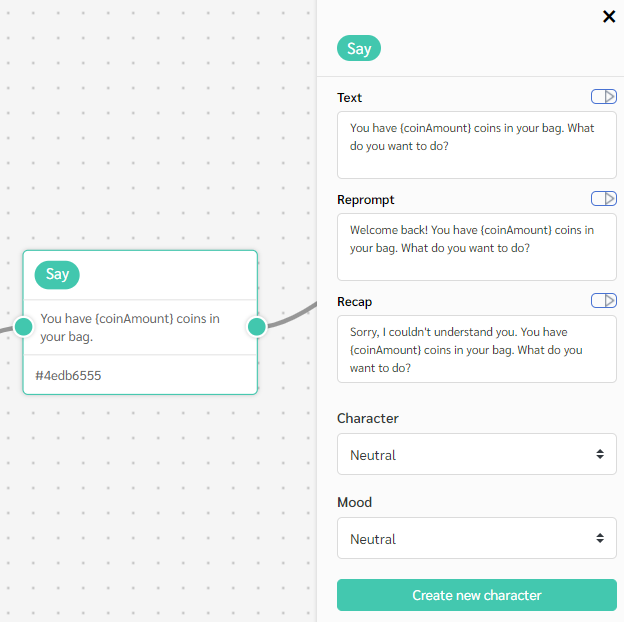
If you click on a Say node a sidebar will appear with three text fields as well as a character selector for different voices. Double click the node or click the option in the context menu to edit the node in a window.
The text you write in the main text field is what will be read out by a synthetic voice whenever the editor flow runs through the node. The resume text field is for when a user comes back to a project after exiting it, and the repeat text field is for when the platform cannot recognize what the user is saying. You may also choose a specific character that will read out the text and a mood for the characters voice.
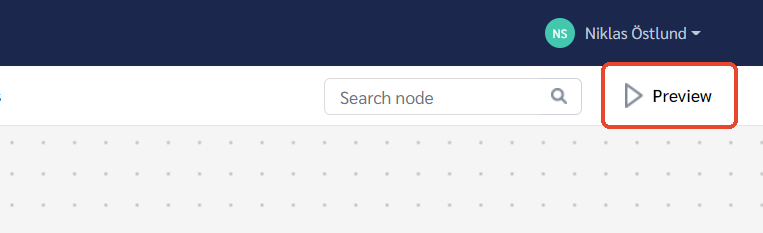
Preview Your Project
To Preview your project, simply left click on Preview at the top right corner.
When prompted by a hear-node, you can either reply by writing a message, by speaking while pressing the microphone button (currently only in Chrome), or clicking on one of the pre-selected options. When you're done previewing, you can go back to the editor by once again by pressing the preview button on the top left corner or closing the sidebar.